Hi everyone,
This post is regarding how we can replace Launch images with Storyboard or Xib file. I used Titanium SDK 4.0.0 GA version and Appcelerator Studio, build: 4.0.1.201506021908. And Tested in iOS 8.3 version iPhone 6 and iPhone 4s and iPad 2. And also in Appcelerator recent blog post says Launch screen Storyboard may come in next update with iOS 9 support (Please check with reference links below).
Get in to the topic. Follow below steps and it is easy to if you know Storyboard design and auto layouts.
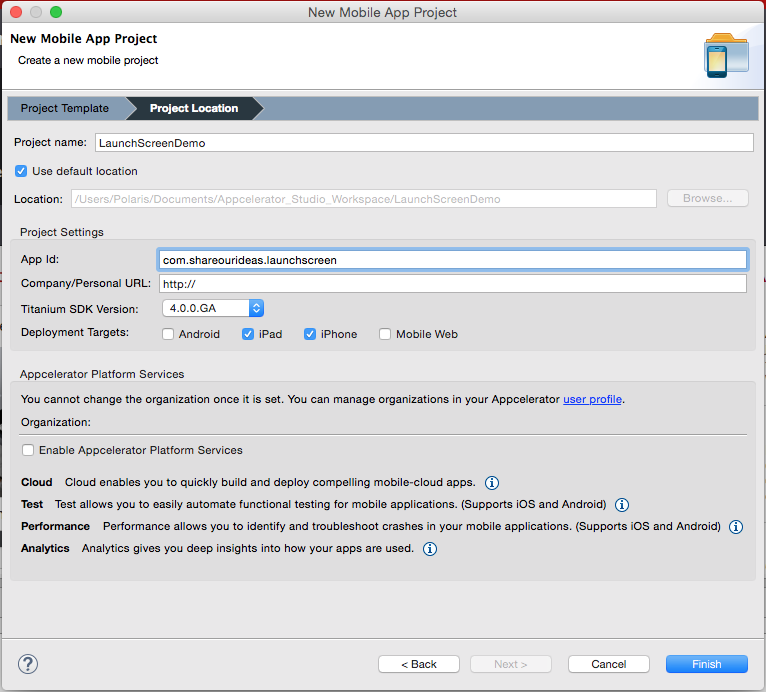
Step 1: Start creating Alloy project. It is just normal way we do.
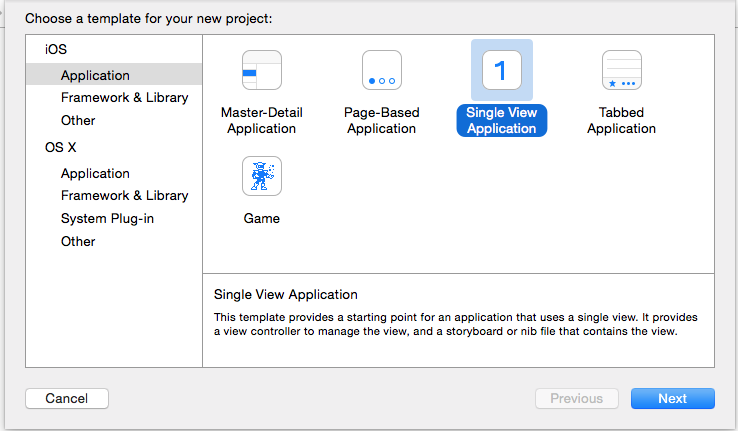
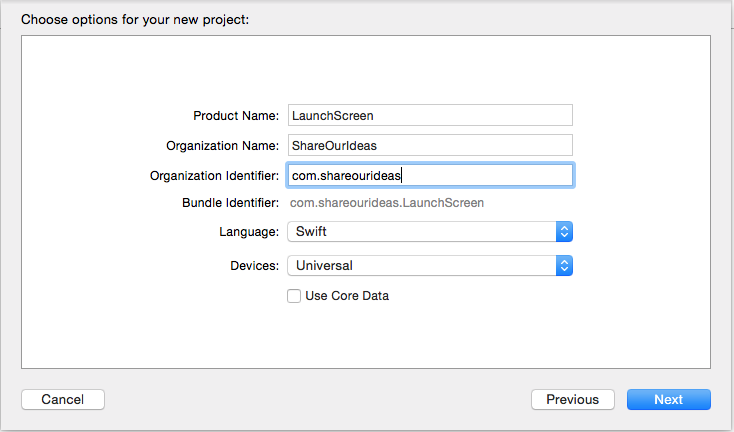
Step 2 : Now open Xcode and create Single view Application. Don’t worry! No need to write any code. (Use latest Xcode, I used Xcode 6.3)
Step 3 : Check Xcode project as created default LaunchScreen.xib or LaunchScreen.storyboard file in project. And If everything is good, it should look like this.
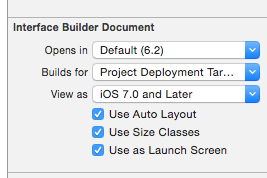
Step 4: If Launch Screen .Xib or .Storyboard is not there. You can add new file with any name and make sure that file is enabled “Use as Launch Screen”.
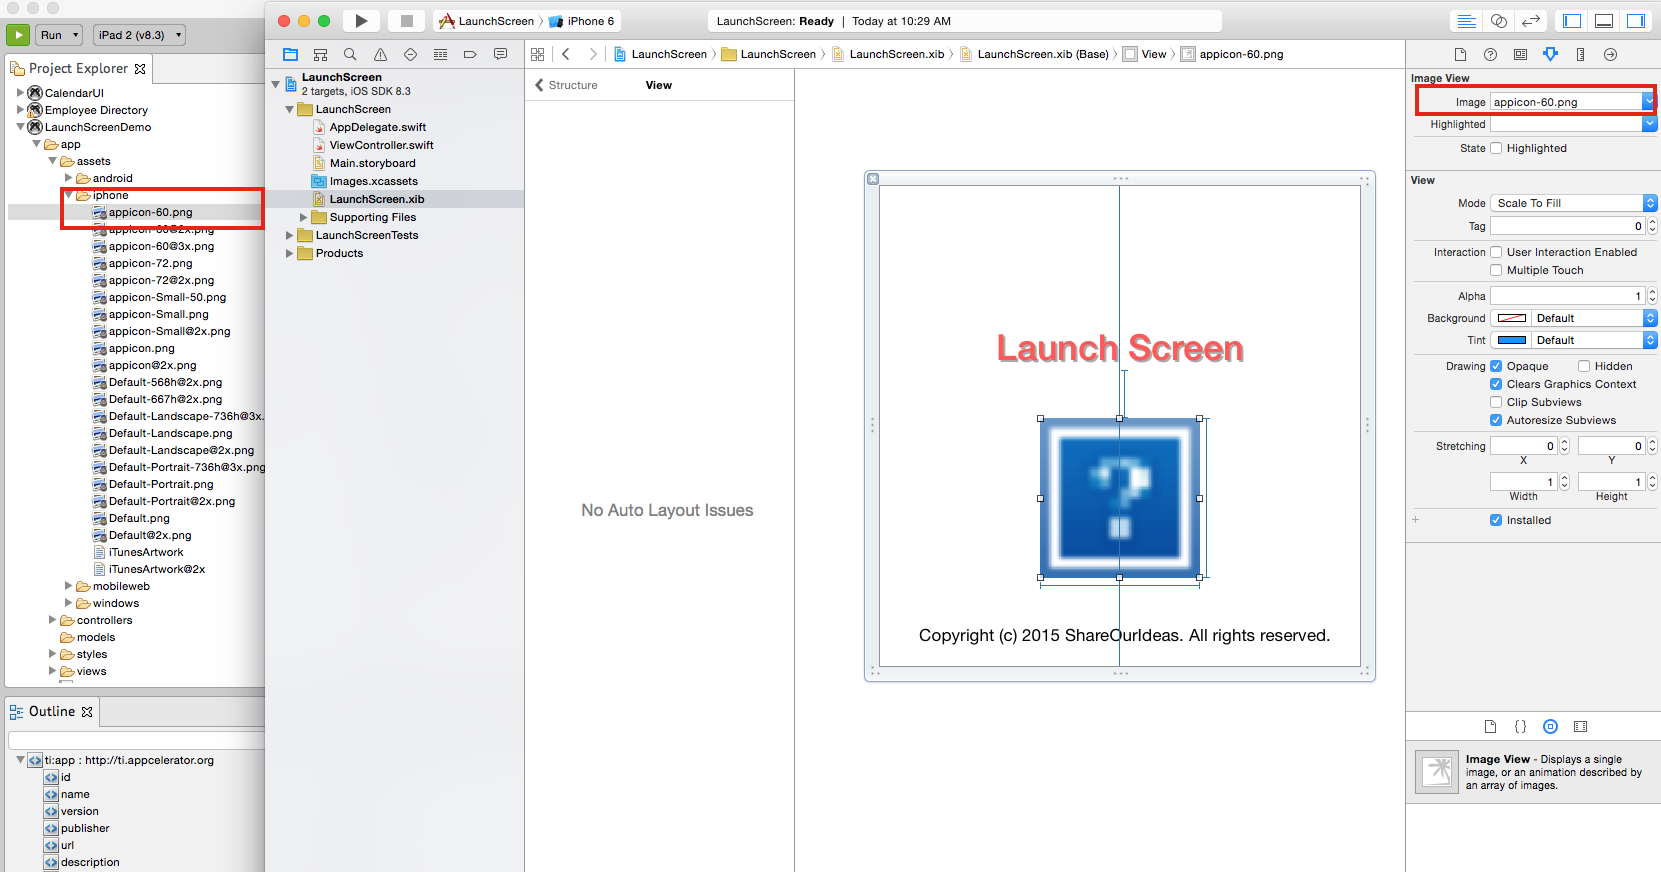
Step 5 : Now we can design Launch screen also add images and labels. But there are some limitations for designing Launch screen. Like we should not add WebViews and don’t set any runtime attributes etc. For image source we can point our images here in xcode. See in below screenshot, how image pointing to Appicon image file from titanium assets folder.
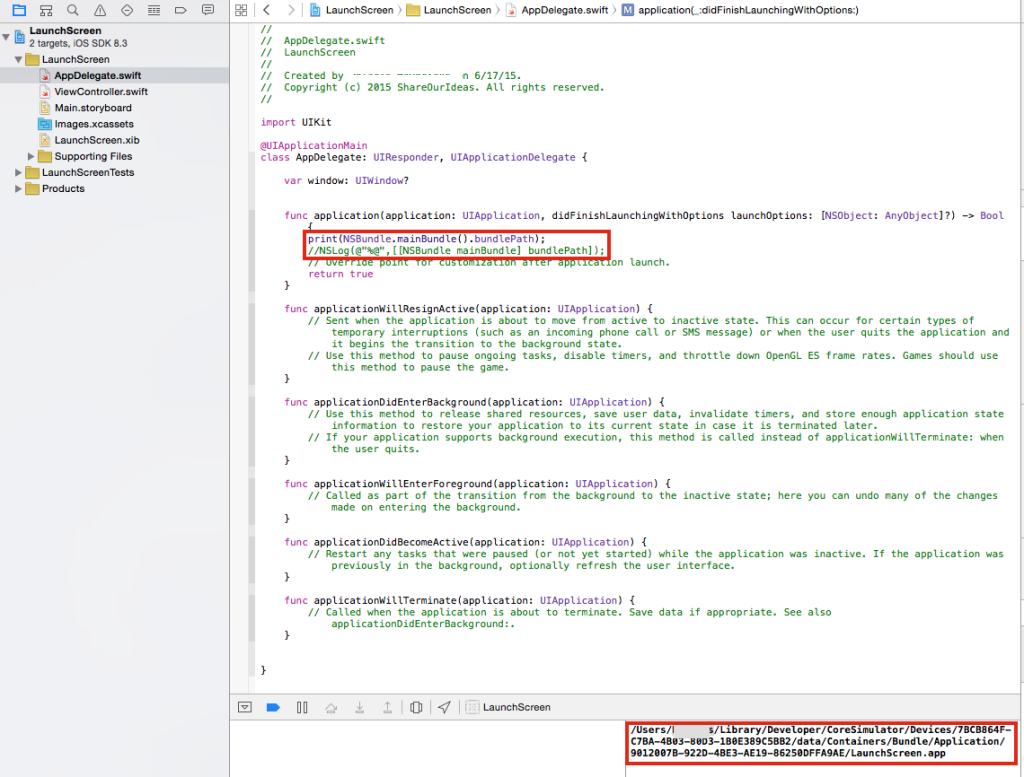
Step 6 : Now we can run Xcode project (Use Command + R). Use this log in Appdelegate file. So it will print Path of the application. Because we need to copy the compiled Launchscreen.xib (it will be Launchscreen.nib). To open Debug area use (Command + Shift + Y)
print(NSBundle.mainBundle().bundlePath); //For Swift
NSLog(@”%@”,[[NSBundle mainBundle] bundlePath]); // For Objective C
Step 7 : Go to the Application location (root folder of .app file). In finder use Command + Shift + G and paste the copied path up to root folder of .app file only.
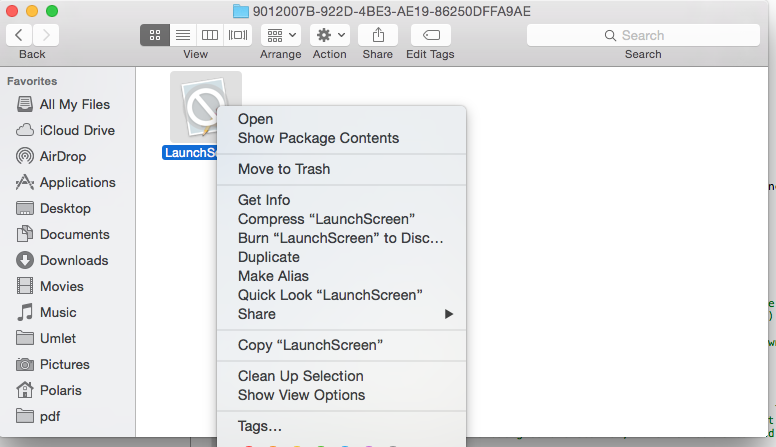
Step 8 : Right click on LaunchScreen.app file and click on “Show Package Contents”.
Step 9 : Search for Launch screen .nib file and copy that file
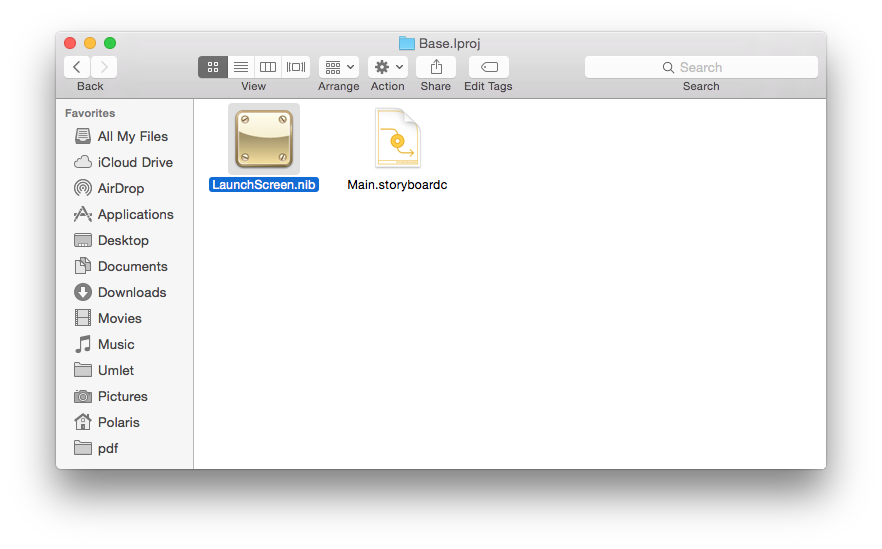
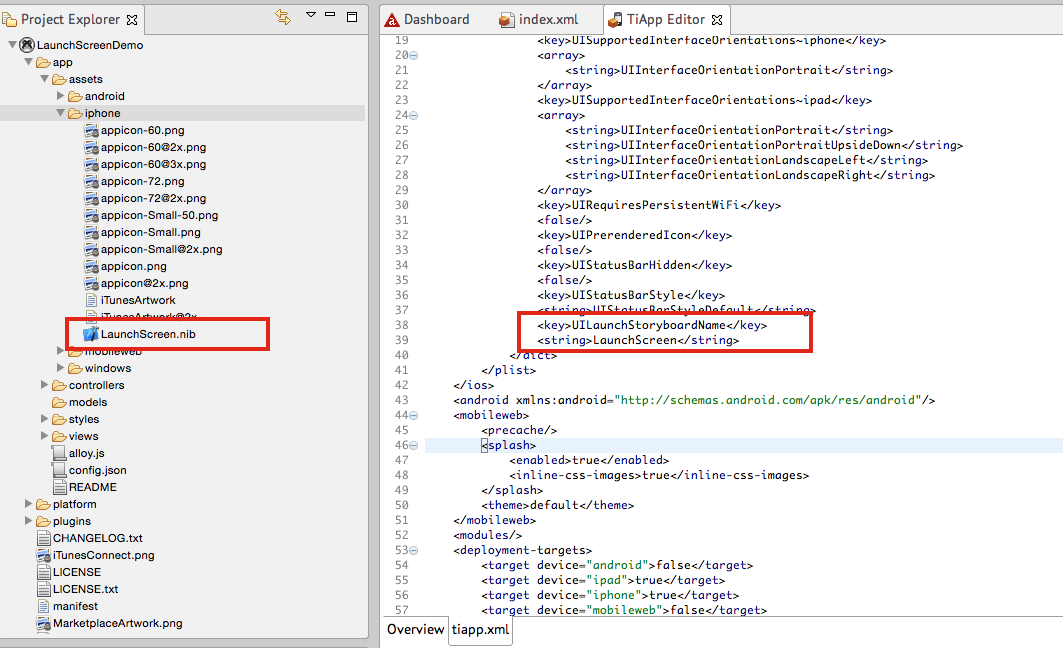
Step 10 : Paste .nib in Alloy project assets folder and Change tiapp xml. We can now remove Default launch images and test.
<key>UILaunchStoryboardName</key>
<string>LaunchScreen</string> <!– Here name of the .xib or .storyboard file name–>
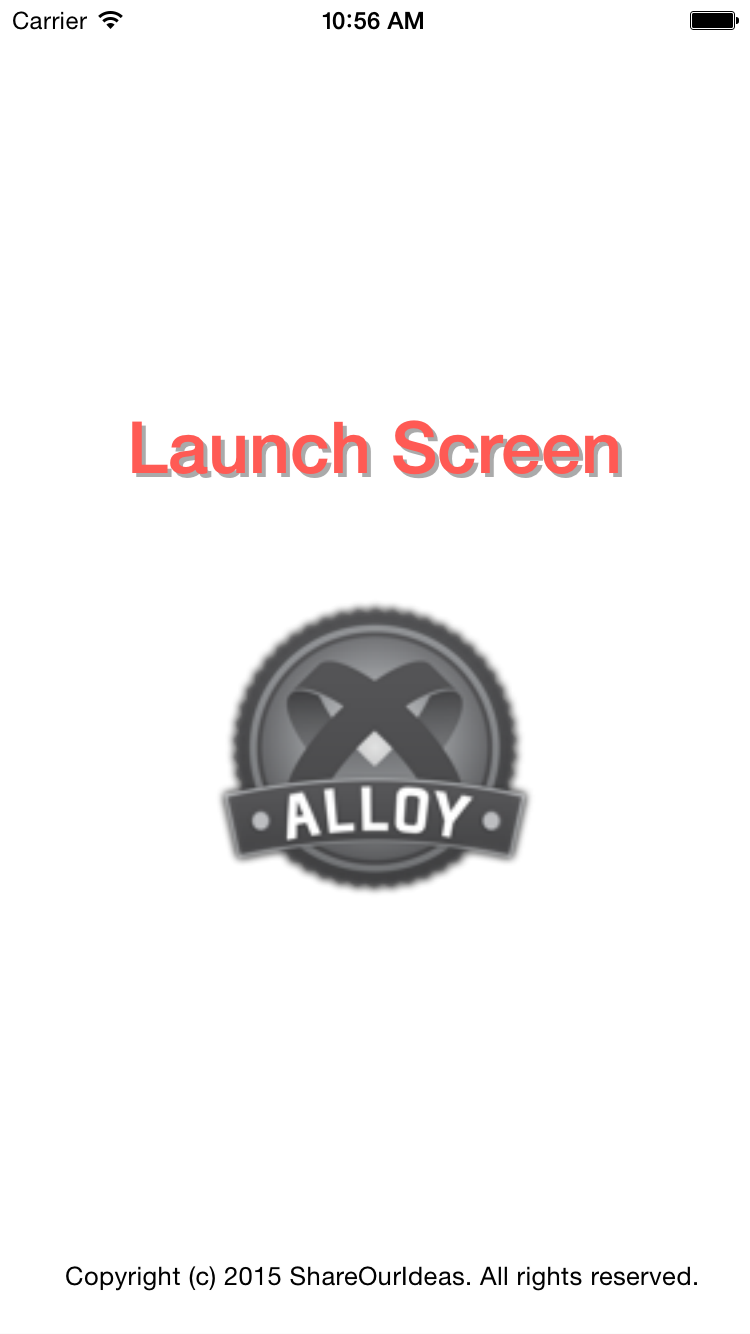
Step 11: If everything good, after running our Alloy project we will see Splash screen is replaced with Launchscreen Xib.
Reference links:
https://developer.apple.com/
https://community.
Please suggest add your comments in below, if you have any suggestions. Thank you.